
Steaming milk is an essential skill for any home barista, and doing it with a Breville espresso machine can make the process feel both professional and fun. Over time, I’ve honed my steaming technique on my Breville, and I’m excited to share everything I’ve learned. Whether you’re looking to create a creamy cappuccino or a silky latte, this guide will walk you through every step of the process.
Why Steaming Milk on the Breville is a Game-Changer
When I first got my Breville, one of the features I was most excited about was its milk steaming capability. The machine is designed with precision and ease of use in mind, making it ideal for beginners and experienced users alike. The steam wand on the Breville produces consistent results, allowing you to create microfoam for lattes or frothier milk for cappuccinos effortlessly.
If you're considering an upgrade or want a more powerful machine for home brewing, you might want to check out the Breville Dual Boiler BES920XL Review. It offers professional-level steam pressure, making milk steaming even more efficient.
Getting Started: Preparing Your Breville for Steaming Milk
Before steaming milk on the Breville, it’s essential to prepare your machine properly. Here’s what I do:
- Clean the Steam Wand: Ensure the steam wand is free of residue. Wipe it with a damp cloth and purge any leftover water or milk by turning on the steam for a second.
- Fill the Water Tank: Double-check that the water reservoir is filled. Steaming requires water to produce steam, so this step is crucial.
- Select the Right Milk Jug: A stainless-steel milk jug works best. I prefer one with a spout, as it helps when pouring latte art.
Taking these preparatory steps ensures that everything is ready for the perfect milk-steaming session. If you're looking for a machine that balances automatic convenience with hands-on customization, you might enjoy the Breville Barista Touch Impress Review, which simplifies milk steaming with its intuitive interface.
Choosing the Right Milk for Steaming on the Breville
The type of milk you use impacts the texture and flavor of your steamed milk. I’ve experimented with various options and here’s what I’ve found:
- Whole Milk: This is my go-to for a rich, creamy texture.
- Skim Milk: While it creates a lighter foam, it’s less flavorful.
- Plant-Based Milks: Almond, oat, and soy milk are excellent alternatives, though they require careful handling as they can scald more easily.
Each type of milk behaves differently, so practice is key to mastering steaming on the Breville.
For those deciding between espresso machines with different steaming capabilities, comparing the Breville Barista Express Impress vs Pro models can help determine which one suits your milk-steaming needs best.

Step-by-Step: How to Steam Milk on the Breville
Now let’s dive into the main event—steaming milk on the Breville. Follow these steps for consistent results:
1. Fill the Milk Jug Correctly
The first step is to fill the milk jug to the appropriate level. I usually pour milk up to the base of the spout. Overfilling can cause spills, while underfilling makes it harder to achieve the desired texture.
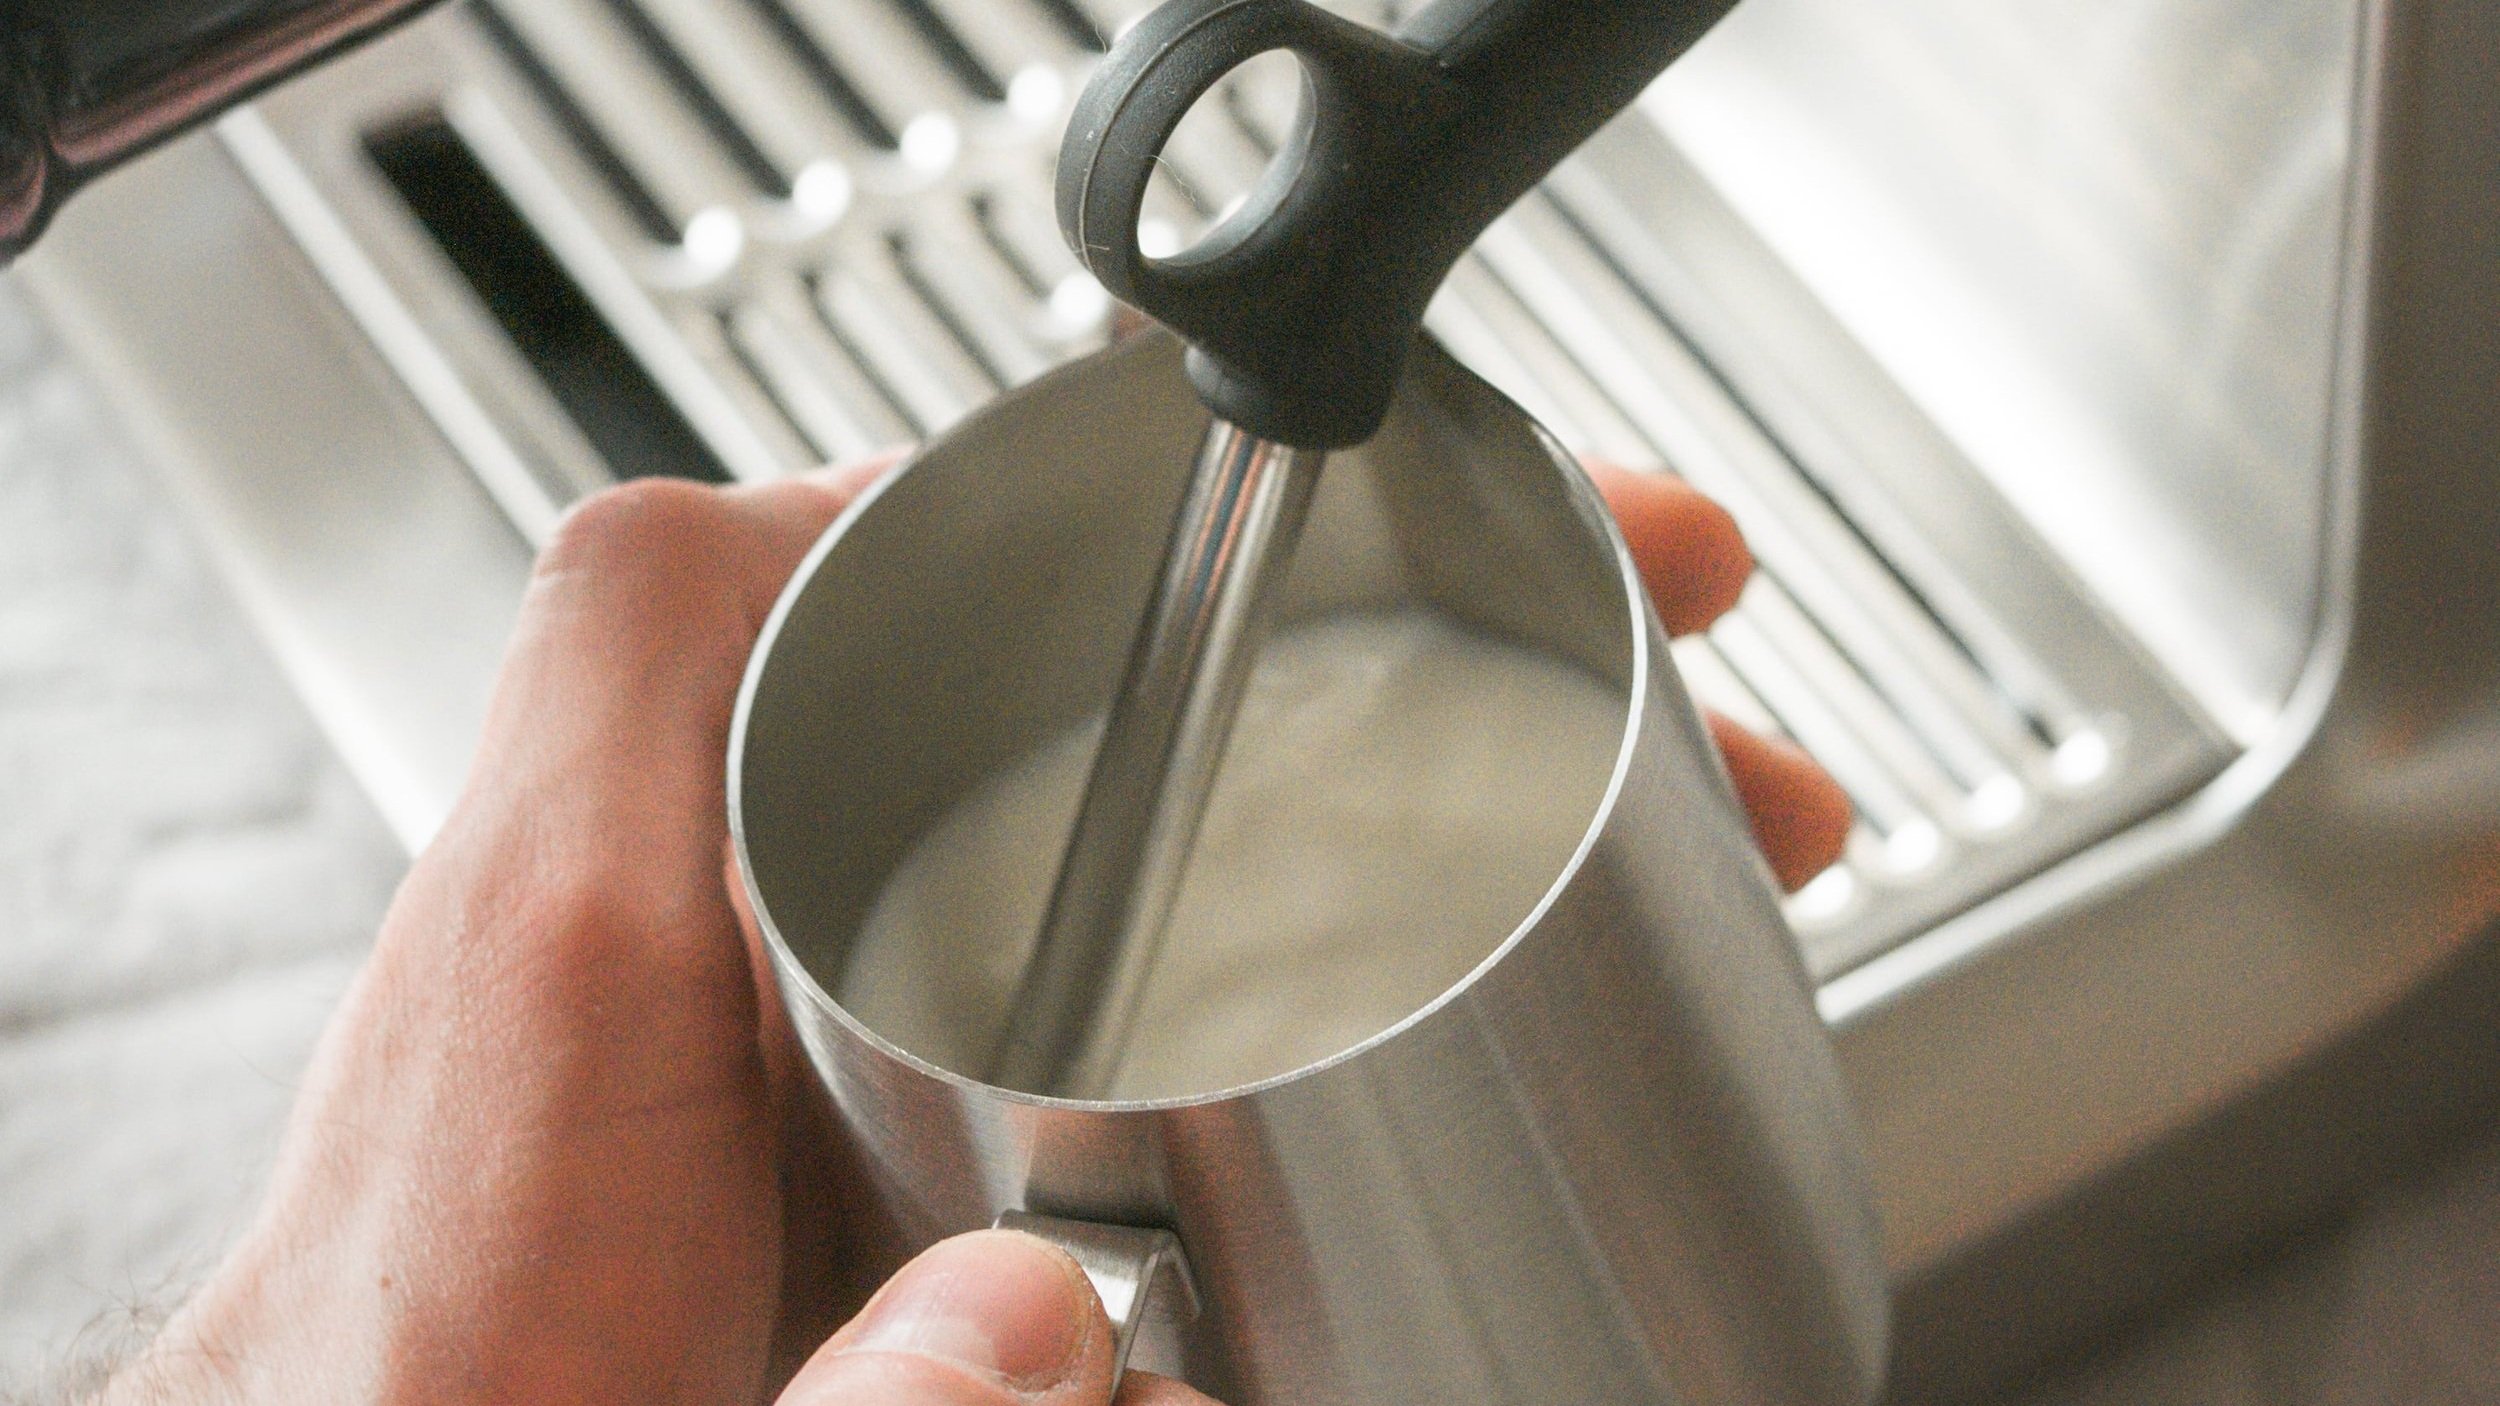
2. Position the Steam Wand
Insert the steam wand into the milk jug. Start by positioning the wand just below the surface of the milk. This placement is crucial for creating the initial froth.
3. Start Steaming
Turn on the steam function on your Breville. You’ll hear a hissing sound as steam begins to heat the milk. Hold the jug at a slight angle and keep the steam wand tip near the surface to incorporate air.
4. Create Microfoam
Once you’ve added air for a few seconds, submerge the wand slightly deeper into the milk. This helps create microfoam—a silky, velvety texture perfect for lattes. I like to keep my hand on the bottom of the jug to monitor the temperature. Once it feels warm to the touch (about 140-150°F), it’s ready.
5. Finish and Clean
Turn off the steam and remove the wand from the milk. Immediately wipe it with a damp cloth and purge it to remove any milk residue. This step prevents clogging and keeps your Breville in top shape.
For those comparing Breville machines, looking at the Breville Barista Pro vs Express can help determine which model has the best steam performance for your needs.
Common Mistakes to Avoid When Steaming Milk on the Breville
When I started using my Breville, I made plenty of mistakes. Here are a few pitfalls to watch out for:
- Overheating the Milk: Milk that’s too hot loses its sweetness and can scald.
- Improper Wand Placement: Positioning the wand too deep or too shallow affects the texture of the foam.
- Skipping Cleaning Steps: Residual milk can harden and clog the wand, so always clean it immediately.
Learning from these missteps has helped me perfect my technique and enjoy consistently excellent results.
How to Create Latte Art with Steamed Milk on the Breville
Steaming milk on the Breville is just the first step. Creating latte art elevates your coffee-making game. Here’s how I do it:
- Start with Good Microfoam: The quality of your steamed milk directly impacts your latte art. Make sure the milk has a smooth, glossy texture.
- Pour with Precision: Tilt your cup slightly and pour the milk slowly into the espresso, raising the jug slightly as you go.
- Create Designs: Once the cup is about halfway full, lower the jug closer to the surface and move it to create patterns like hearts or rosettas.
Latte art takes practice, but it’s incredibly rewarding when you nail it. For those who want a machine that offers next-level milk frothing, the Breville Oracle vs Oracle Touch comparison can help decide between these high-end models.
Tips for Perfecting Your Milk Steaming Technique on the Breville
Over time, I’ve picked up several tips that have improved my milk steaming skills:
- Use Cold Milk: Start with milk straight from the fridge, as it steams more evenly.
- Practice Makes Perfect: Don’t be discouraged if your first attempts aren’t perfect. Steaming milk is a skill that improves with repetition.
- Watch Tutorials: I found that watching videos of professionals steaming milk helped me understand the nuances of the process.
These tips have been invaluable in my journey to mastering steamed milk.
Troubleshooting Milk Steaming Issues on the Breville
If you encounter problems while steaming milk on your Breville, here are some solutions that have worked for me:
- No Steam Coming Out: Check the water reservoir and ensure it’s filled.
- Milk is Too Frothy: Reduce the amount of air you incorporate during the initial phase of steaming.
- Foam is Not Smooth: Practice creating microfoam by adjusting the wand’s position and angle.
Troubleshooting these issues will help you become more confident in using your Breville.
Why I Love Steaming Milk on the Breville
Steaming milk on the Breville has transformed my coffee routine. The consistency and control offered by the steam wand allow me to create café-quality drinks at home. Whether I’m making a latte, cappuccino, or experimenting with flat whites, my Breville delivers every time.
Conclusion: Mastering How to Steam Milk on the Breville
Steaming milk on the Breville is both an art and a science. By following these steps, practicing consistently, and learning from any mistakes, you’ll soon be creating perfectly steamed milk for your favorite coffee beverages. Remember, the key is to enjoy the process and celebrate your progress as you go. With the Breville as your tool, the possibilities are endless.
If you're in the market for an espresso machine that makes milk steaming effortless, be sure to check out the Breville Barista Touch Impress Review for an intuitive, user-friendly experience.
Frequently Asked Questions
Q: What type of milk is best for steaming on the Breville?
A: Whole milk is the best option for creating a rich, creamy texture, but skim milk and plant-based options like almond, oat, or soy milk can also be used. Just keep in mind that plant-based milks may require extra care to avoid scalding.
Q: How do I know when the milk is steamed to the right temperature?
A: You can monitor the temperature by placing your hand on the bottom of the milk jug. When it feels warm to the touch but not too hot, the milk is typically around 140-150°F, which is ideal for steaming.
Q: How do I create microfoam with the Breville steam wand?
A: To create microfoam, position the steam wand just below the surface of the milk at an angle. Incorporate air for a few seconds, then lower the wand deeper into the milk to blend and create a smooth, velvety texture.
Q: Why is my milk too frothy or bubbly?
A: This usually happens if you’ve incorporated too much air during the steaming process. Try submerging the steam wand slightly deeper into the milk after the initial frothing phase to smooth out the foam.
Q: How do I clean the steam wand after steaming milk?
A: Immediately after steaming, wipe the wand with a damp cloth to remove milk residue, and purge the wand by turning on the steam briefly. This prevents clogging and keeps your Breville in good condition.
Q: Can I steam milk for multiple drinks at once?
A: Yes, you can steam milk for multiple drinks by using a larger milk jug and adjusting the amount of milk accordingly. Just ensure the jug isn’t overfilled to avoid spills and maintain proper texture.
Q: What should I do if no steam is coming out of the wand?
A: Check that the water reservoir is filled and that the steam wand is not clogged. If the problem persists, purge the wand by running steam briefly without milk and ensure the machine is properly heated.
Q: How can I prevent milk from scalding while steaming?
A: Use cold milk from the fridge and monitor the temperature as you steam. Stop steaming once the milk jug feels warm to the touch, usually around 140-150°F. Avoid overheating, as it can cause the milk to lose its sweetness.
Q: What is the difference between steaming milk for a latte and a cappuccino?
A: For a latte, you create microfoam with a silky texture and less froth. For a cappuccino, incorporate more air during the initial frothing phase to achieve a foamier, more voluminous texture.
Q: How do I fix uneven or chunky foam?
A: Uneven foam can result from improper wand positioning or inconsistent motion. Ensure the steam wand is at the correct angle and keep the milk jug steady while steaming. Practice makes perfect!